Repack RV Wheel Bearings
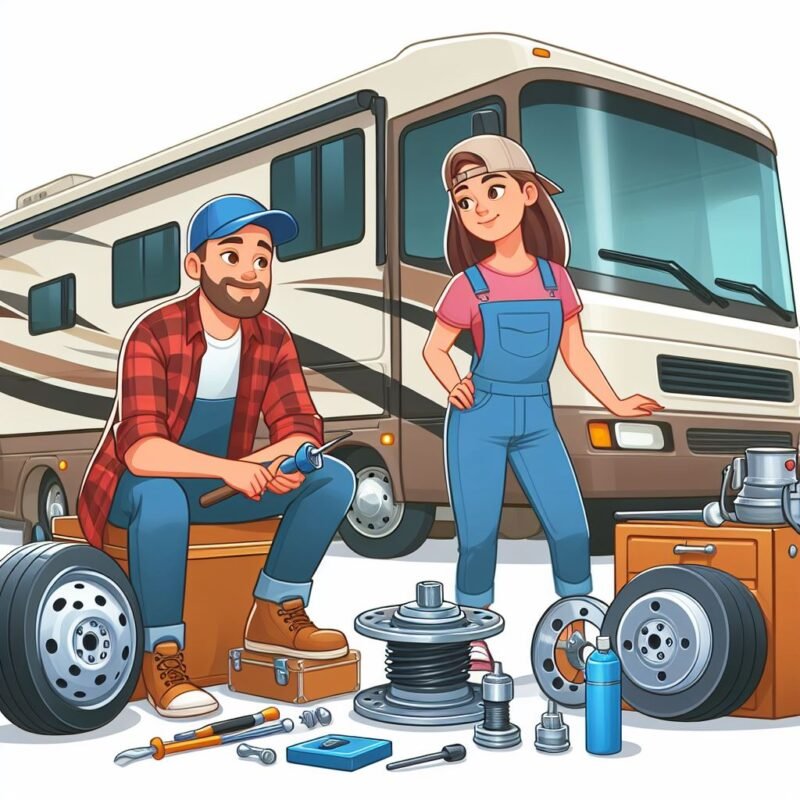
Hello, my name is Scott and my wifes name is Amie. We are the faces behind TheRoadRoamers, YouTube channel. We are known for trekking across the country, embracing the freedom of the open road. However, what truly sets us apart is our dedication to sharing RV maintenance insights that ensure safe and enjoyable travels for fellow adventurers like you.
- With a notable 27 years of hands-on experience in the autobody field, I brings a wealth of expertise to the table. What began as a career morphed into a passion for maintaining the integrity and performance of our 35 foot 5th Wheel “Ava” (Short for Alliance “Avenue”) . The wisdom I hope to impart upon you has one clear aim: to help you avoid the common pitfalls and issues that can arise without proper care.
- Amie, with her knack for attention to detail due to over 25 years in the Real-Estate business, complements my expertise perfectly. Together, we form a duo that takes the complexity out of RV maintenance and breaks it down into manageable, easy-to-follow guides. No bad for a couple of now digital nomads. My message is simple: regular maintenance is not just recommended; it’s essential for extending the life of your home-on-wheels.
In this series, I’m going to tackle an often-overlooked yet vital aspect of RV upkeep: repacking wheel bearings. While this might sound daunting at first, Amie and I will guide you through every step with such clarity and precision that you’ll soon have the confidence to Do It Yourself! In fact, we have published a video of the entire process that I will put towards the end of this post!
A Problem You May Not Even Know You Have
I need to tell you a short story. As I was preparing to do this job at one of the RV resorts we were at, my neighbor asked me what I was doing. I told him I was repacking my wheel bearings because if you don’t and they fail your entire wheel can come off. Ironically enough he said, “that’s exactly what happened to me”. Just then, his friend stopped by and hearing part of our conversation said, I didn’t even know you had to repack your RV bearings. I also informed them on the importance of installing “Hub Savers” which I will talk about in further detail later in this article. So, that’s why I am writing this post to educate people on a problem they may not even know they have!
- In short, well-maintained wheel bearings are the unsung heroes that keep you rolling smoothly and, more importantly, safely down the road. I always emphasize that for optimal performance, you should inspect and repack your bearings every 15,000 miles or every two years, whichever comes first.
- With this comprehensive approach, you’re not just performing routine maintenance; you’re ensuring peace of mind for all the roads ahead. By the end of this next section, you’ll have a solid understanding of when to perform this task, what you’ll need, and how to get started. Ready to take the safety and performance of your RV to the next level? Let’s prepare for the job.

Preparing for the Job: RV Bearing Repack Essentials
Parts and Accessories Needed
- New Hub Seals: A good place to see what size you need is on etrailer. You can put in your make and model and then look up hub seals so you get the correct size.
- Hub Savers: This is the little invention that started this whole thing off. As I mentioned before, if your wheel bearing fail and come apart, the Hub Saver will keep the wheel from coming completely off. I don’t have to tell you how bad that would be. It’s like a big super hard washer with holes in it to let the grease come out when greasing in between packing, through the grease fitting (If you have one). The Hub Saver will act like a temporary bearing to get you safely off the road and keep your wheel from falling off.
- Disposable paper shop towels
- A small oil pan: To clean you brake hub in
- Brake clean spray
- Nitrile and impact gloves, and safety glasses
- 2 tubes of High temp Red Tacky Bearing grease per axle
- A tub of the same grease for your bearing packer. This specialty grease withstands the heat and pressure your RV’s wheel bearings face during those long trips
- 320 grit sandpaper roll 3/4 to 1 inch wide
Now for the Tools you will need
- Bearing Race & Seal Driver Set for installing the seals
- Grease Gun
- Bearing Seal Remover
- Torque Wrench 1/2″ Drive up to 120 foot lbs. for tightening the wheel lug nuts
- 3 inch 1/2″ drive extension
- 3 Ton Jack and two Jack Stands
- 1/2 Drive Impact Wrench
- Scissors
- Scrapper/ Pry tool ( thin screwdriver will work) for getting the grease cap off the hub
- Medium size Channel Lock Pliers
- Tape measure to measure brake pad life (over 1/16″ is ok)
- Hammer
- Bearing Packer
With this setup, you won’t be scrambling for tools midway. Plus, you’ll be emulating the efficiency that has kept us on the road, trouble-free, for so many miles. Now that you’ve outfitted your tool chest, and have your workspace prepared, you’re ready to start the actual repacking process. Next, our YouTube video will guide you through each step of removing, inspecting, and repacking your RV’s wheel bearings, just as I did on our 2022 Alliance Avenue 32RLS.

Insider Advice: Preventing Wheel Failures and Ensuring Longevity
My conversation with a local RV mechanic about RV maintenance always returns to one thing: prevention. He impressed upon me the significance of ‘Hub Savers,’ and now I’m passing that crucial knowledge onto you. These remarkable devices are more than a useful addition; they are a safeguard against wheel bearing failures that every RVer should consider.
- He also told me that individuals who depend on their trailers for livelihood and competition, like Pro Bass Fishermen and Nascar Drivers, rely on Hub Savers for their boat and equipment trailers. Their endorsement is not a marketing gimmick; it’s born from the necessity of trust in their equipment. If these high-stake users put their confidence in Hub Savers, it speaks volumes about their value for your RV.
- Often, the subtle details make the biggest impact in maintenance routines. When you’re repacking bearings, I stress the importance of inspecting both the right and left side brake pads at the same time. This is to ensure uniform wear and performance – a step often overlooked by many. By checking both sides while they are disassembled, you save yourself from having to remove the hub (for example on the left side) if you find that the right side is either worn out or covered in grease. Because when you replace brake pads, you have to replace both sides of any one axle.
- As we transition into aftercare, remember that the work does not end once the bearings are repacked. Implementing consistent maintenance checks can drastically increase the longevity of your RV’s mechanical components. Whether it’s routine cleaning or regular inspections, these practices will contribute greatly to the reliable operation of your RV.
Aftercare: Extending the Life of Your RV with Scott and Amie’s Tips
By now, you’ve learned that repacking wheel bearings isn’t just a maintenance chore; it’s an investment in your RV’s future. The old saying goes: An ounce of prevention is worth a pound of cure. Following our step-by-step guide, you’ve got your RV wheel bearings in top shape, and that’s commendable. But the job isn’t over yet; maintaining your bearings is an ongoing commitment.
- In between those critical repacking services, keep an ear out for unusual noises and a vigilant watch on your bearing temperatures. Regularly scheduled check-ups are your best defense against unexpected breakdowns. If you’re clocking more miles, consider shorter intervals between inspections.
- We also recommend keeping a few spare parts on hand. Trust me; it’s a godsend when you’re out on the open road. For all the visual learners out there, head over to our YouTube channel at TheRoadRoamers for more of our RV maintenance series. Also, keep us in mind for all your Camping Gear For Your RV And Campers.

Maintain your maintenance. That’s our motto.
Whether you’re a weekend warrior or a seasoned full-timer like us, keeping up with your RV’s maintenance will ensure you enjoy your adventures without the headache of avoidable repairs. Remember, we’re just a click away for tips, tricks, and expert RV care advice. Safe travels and smooth bearings!
Leave A Comment
Please leave a comment and feel free to ask questions about anything to do with RVing. Thanks and “We’ll See You On The Road”


Repacking RV wheel bearings is one of those maintenance tasks that often gets overlooked but is absolutely crucial for safe and smooth travels. It’s not just about preventing breakdowns; it’s about extending the life of your wheels and avoiding costly repairs down the road. Personally, I’ve found that setting a regular schedule for checking and repacking bearings ideally every 12,000 miles or annually has saved me a lot of headaches. It might seem daunting at first, but with the right tools and some patience, it’s definitely doable. Plus, there’s a certain satisfaction in knowing your RV is road-ready because you took the time to maintain it properly. What’s your experience? Do you prefer to DIY or leave it to the pros? Would love to hear what’s worked for others.
I personally prefer to do things myself. On my website you can click the link to watch the Youtube video of me actually doing the work on our rig. I also highly recommend the Hub savers that I talk about in the video. So, check it out, I think you will find it useful.
Best Regards Scott
Repacking RV wheel bearings is one of those maintenance tasks that seems intimidating at first but really pays off in the long run. I’ve done it a couple of times, and while it can be a bit messy, knowing the bearings are properly greased gives real peace of mind on long trips. I’ve noticed that many RV owners overlook it until something goes wrong, which makes this kind of guidance incredibly valuable. One thing I’ve always debated is how often it really needs to be donesom – e say every 12,000 miles, others push it further. I’d be interested to hear what interval you’ve found to be the most reliable based on experience.
Hi Slavisa,
Thanks for the comment! To answer your question: It is proper to grease them every year or 10,000 to 12,000 miles which ever comes first. Also, having the Hub Savers is great peace of mind.
Best Regards
Scott
This post offers a fantastic and practical guide on RV wheel bearing maintenance that every RV owner should read. Scott and Amie do an excellent job of breaking down what could be a daunting task into manageable steps, with plenty of helpful tools and tips to ensure a safe and smooth journey on the road. I especially love how they emphasize preventative care, like repacking bearings regularly and using Hub Savers to avoid catastrophic failures. I’m curious, have you both ever experienced a wheel bearing issue on the road, and if so, how did it affect your travels?
Hi Kavitha,
First of all, thank you for your kind words. Fortunately we have never had any problems with out wheel bearings and pray we never do! We have, however, talked to people who have had wheels fall off.
Best Regards
Scott